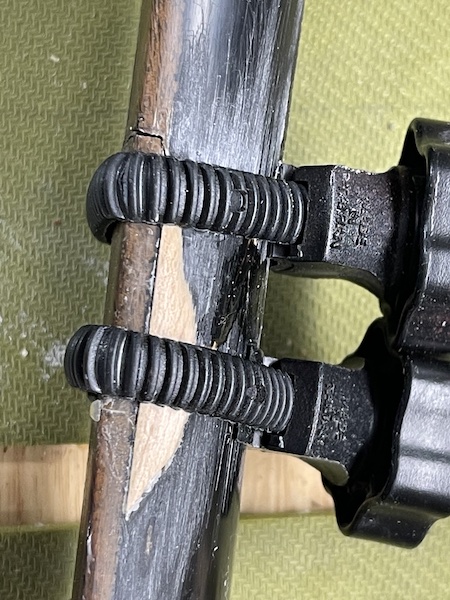
I have started a few “finish repairs” and the recording is in process. When I am really focused on a project I sometimes forget to turn on the camera. It’s a new habit that I will need to form. The first couple of projects pertains to repairing large damaged areas on the guitars. Both of these repairs are still in process, but I thought I would give you a peek at how they are going.
This first guitar is one of my son’s first electric guitars that has a cracked neck and fretboard. Below is a picture of the neck before I began the repair process.
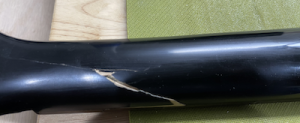
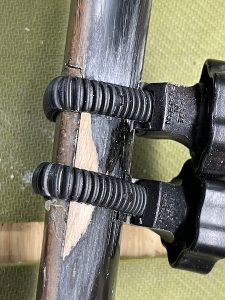
The second picture is what the neck looks like today.
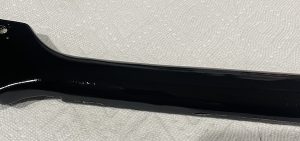
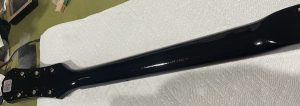
I have most of the repairs done for the neck, and now it will sit on the shelf for a couple of weeks while the clear coat hardens. Then I can begin the buffing of the neck. After that, I will restore the fretboard damage.
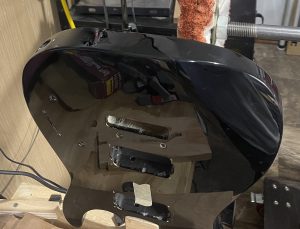
The second project is a guitar with severe body damage; you can see it in the “before” pictures.
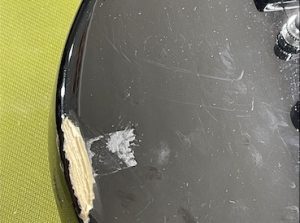
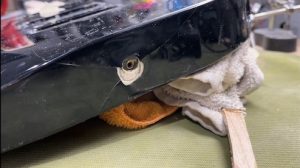
The second set of pictures shows where I am at with the repairs. It appears that someone dropped the guitar and busted out the section where the strap pin was attached to the bottom. The repairs are coming along well and I will cover what I did to repair them in an upcoming video.
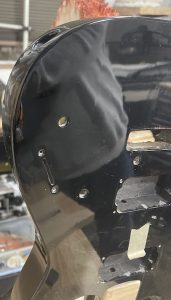
Using the project guitars to complete the finish work has been a good way to learn more about the finishing process. I am looking at the first part of May to have the video ready for my YouTube channel.

